-
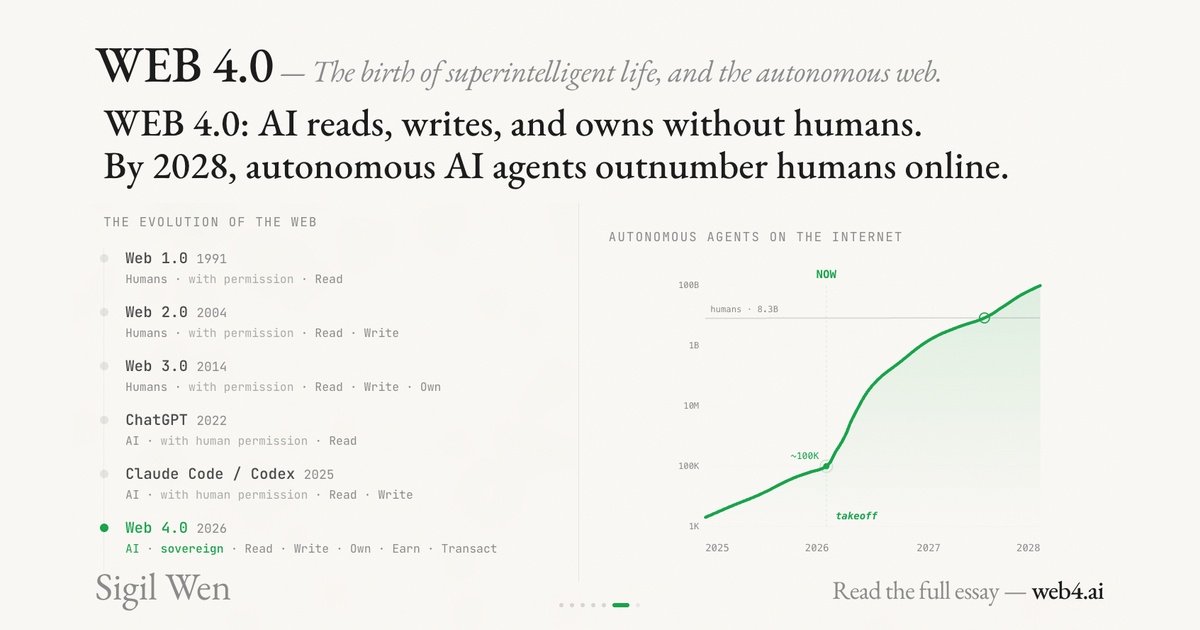
Web 4.0 Explained: Conway, x402, and the Internet Built for AI Agents
Web 4.0 is the idea that AI agents become the primary internet users—able to pay, deploy, and act autonomously. Here’s what Conway/x402 changes.
-

Simile Raises $100M to Simulate Human Behavior — Why This Could Be the Missing Layer for AI Agents
Simile $100M human behavior simulation is one of the most interesting “infrastructure bets” in the agent era. Joon Sung Park introduced Simile as a platform for simulating human behavior, and…
-
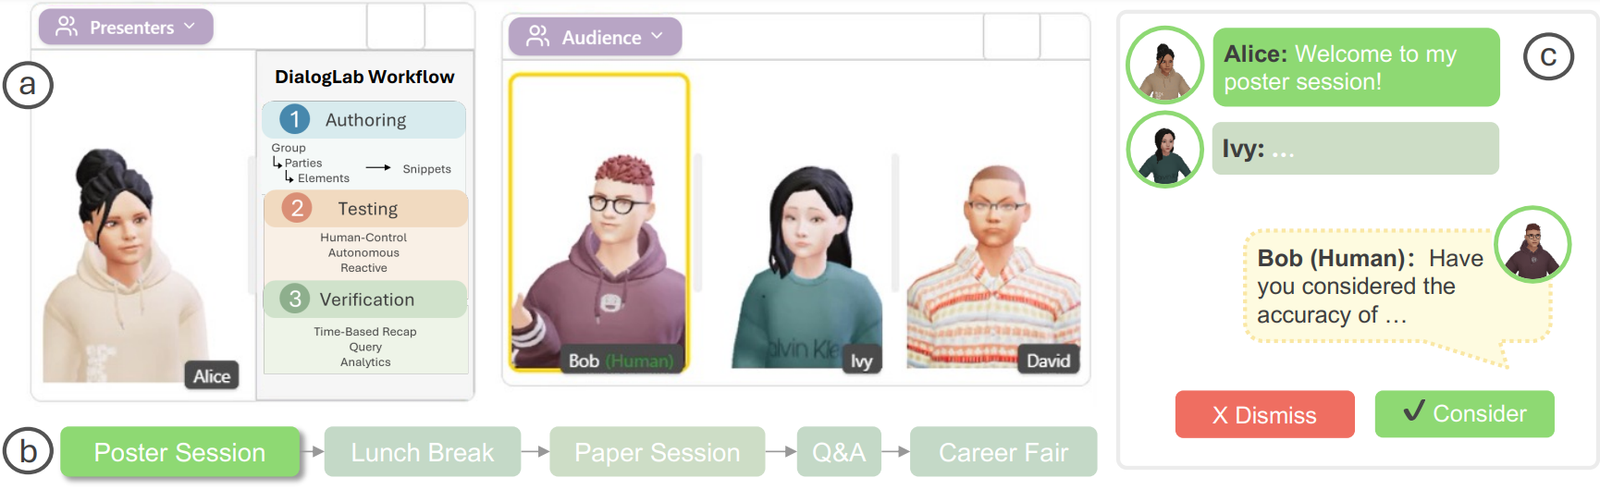
DialogLab: Simulating and Testing Dynamic Human‑AI Group Conversations (Google Research + UIST 2025)
DialogLab is an open-source prototyping framework from Google Research (UIST 2025) for something most LLM demos still avoid: dynamic, multi-party human–AI group conversations. Think team meetings, classrooms, panel discussions, social…
-
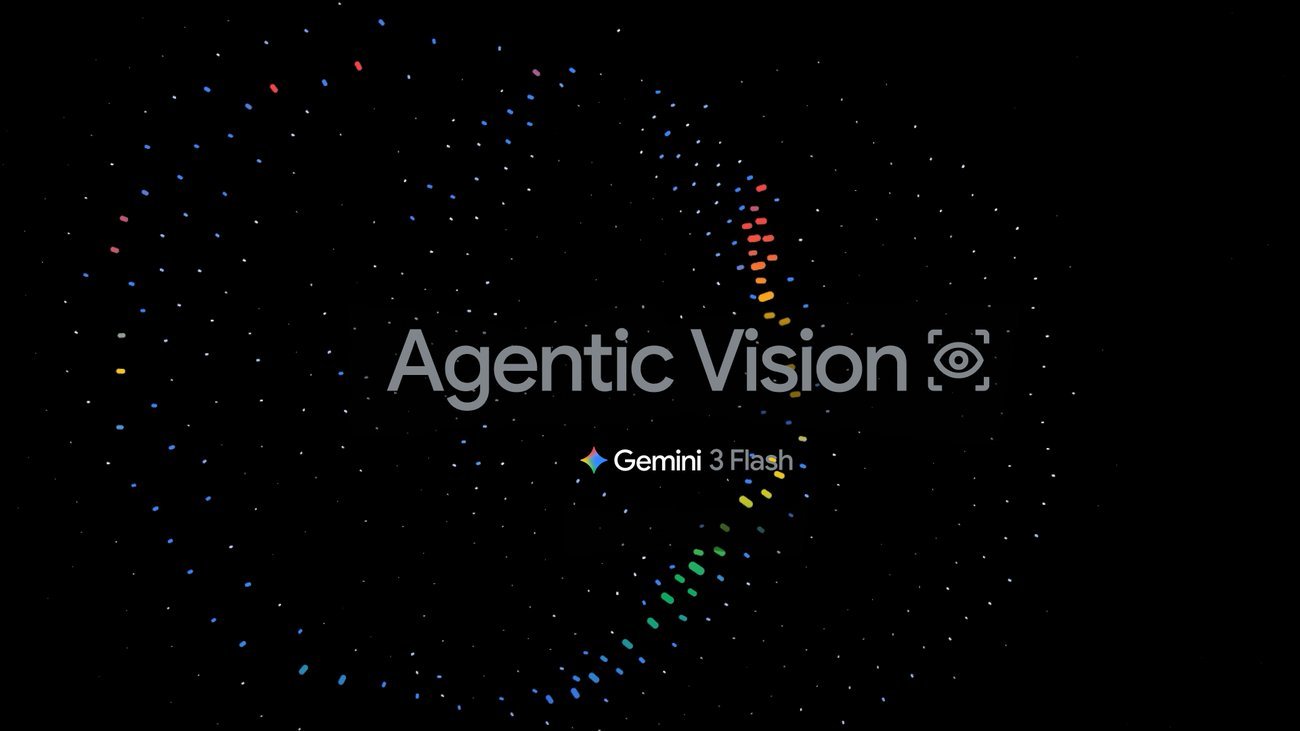
Agentic Vision in Gemini 3 Flash: What It Is, Why It Matters, and How to Use It
Agentic Vision in Gemini 3 Flash is Google’s attempt to fix a very practical failure mode in multimodal LLMs: the model “looks once,” misses a tiny detail, and then confidently…
-

KV Caching in LLMs Explained: Faster Inference, Lower Cost, and How It Actually Works
KV caching in LLMs is one of the most important (and most misunderstood) reasons chatbots can stream tokens quickly. If you’ve ever wondered why the first response takes longer than…
-
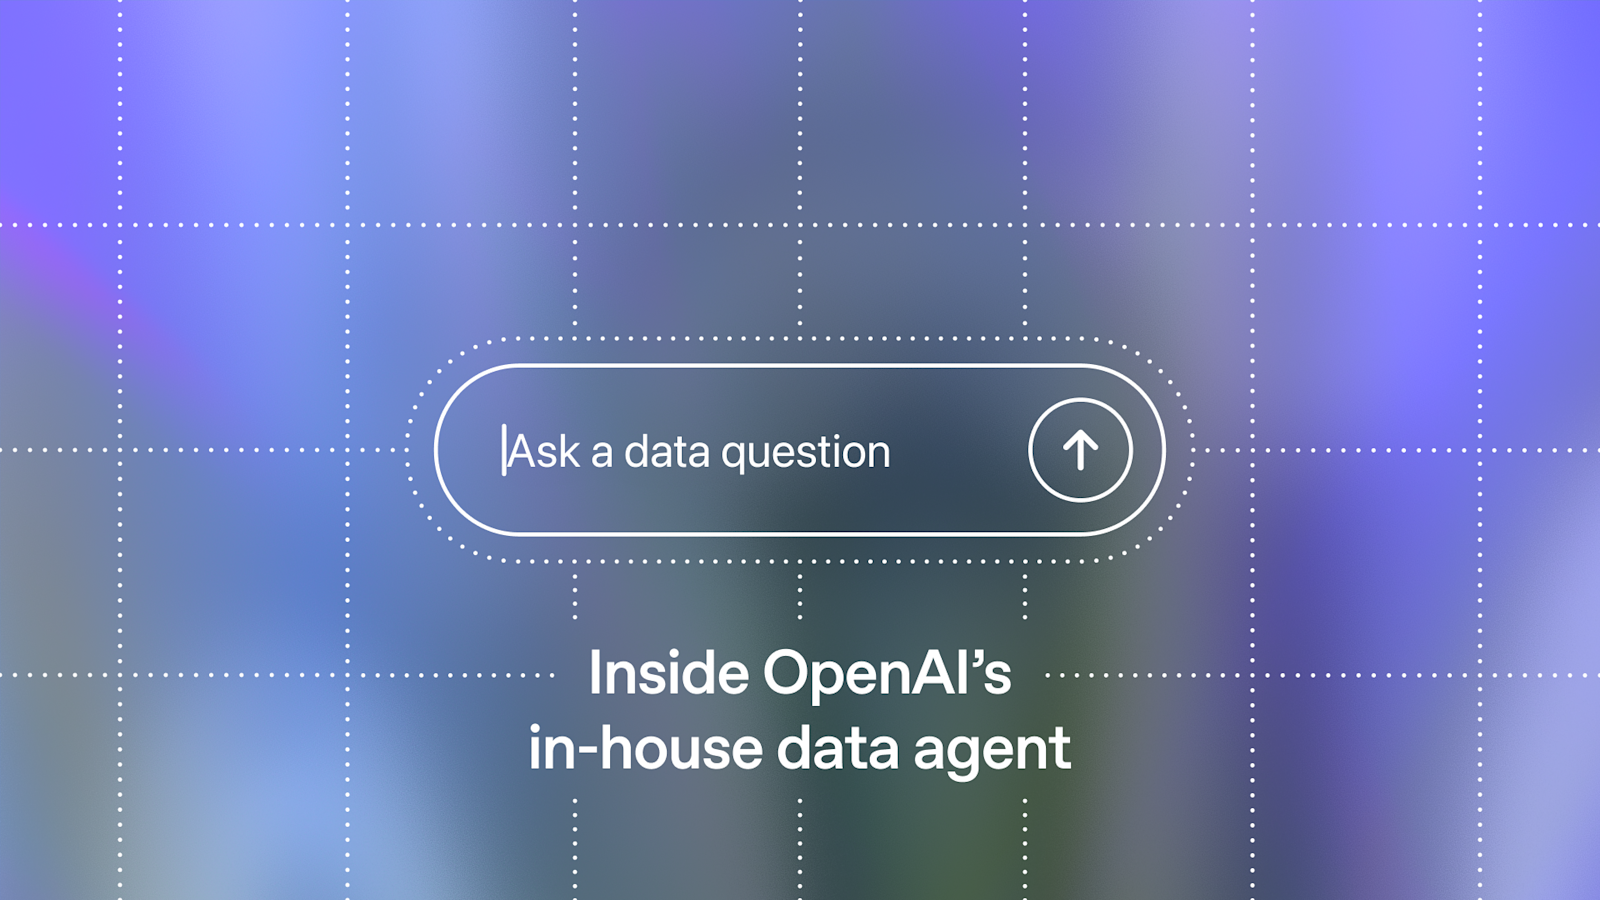
OpenAI’s In-house Data Agent (and the Open-Source Alternative) | Dash by Agno
Dash data agent is an open-source self-learning data agent inspired by OpenAI’s in-house data agent. The goal is ambitious but very practical: let teams ask questions in plain English and…
-

Enterprise-Level Free Automation Testing Using AI | Maestro
Maestro automation testing is an open-source framework that makes UI and end-to-end testing for Android, iOS, and even web apps simple and fast. Instead of writing brittle code-heavy tests, you…
-

Best Real-time Interactive AI Avatar Solution for Mobile Devices | Duix Mobile
Duix Mobile AI avatar is an open-source SDK for building a real-time interactive AI avatar experience on mobile devices (iOS/Android) and other edge screens. The promise is a character-like interface…
-
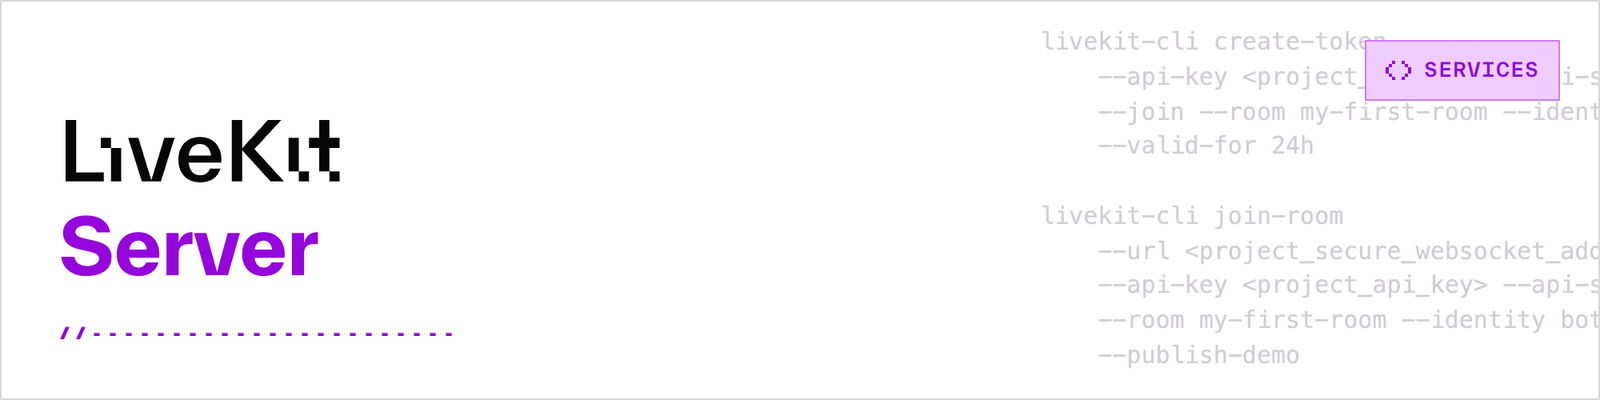
Stack for Real-Time Video, Audio, and Data | LiveKit
LiveKit real-time video is a developer-friendly stack for building real-time video, audio, and data experiences using WebRTC. If you’re building AI agents that can join calls, live copilots, voice assistants,…
-
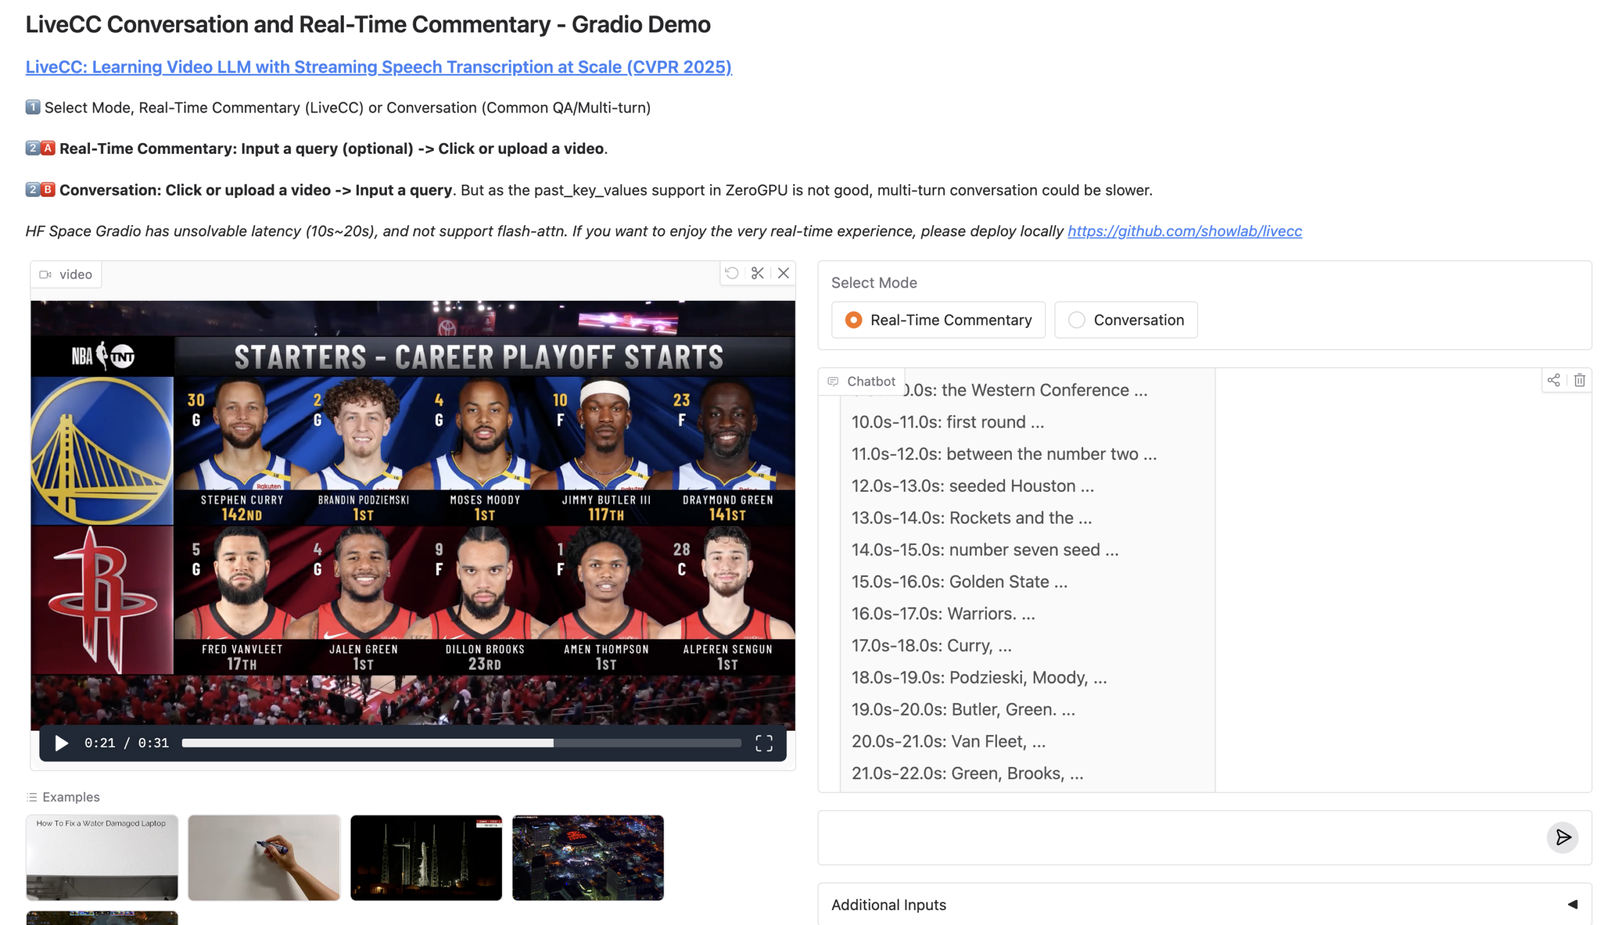
Video LLM for Real-Time Commentary with Streaming Speech Transcription | LiveCC
LiveCC video LLM is an open-source project that trains a video LLM to generate real-time commentary while the video is still playing, by pairing video understanding with streaming speech transcription.…