TL;DR
- Open Source Ci/Cd Self-Hosted is mostly about making agent behavior predictable and auditable.
- Make tools safe: schemas, validation, retries/timeouts, and idempotency.
- Ground answers with retrieval (RAG) and measure reliability with evals.
- Add observability so you can answer: what happened and why.
Unlock Seamless Deployment with an Open Source CI/CD Self-Hosted Tool
In today’s fast-paced development environment, having a reliable free CI/CD tool is essential for streamlining the deployment process. If you’re seeking an open source CI/CD self-hosted solution that gives you full control over your infrastructure, QuickStack is the answer. This innovative platform simplifies the management of your Linux servers and makes deploying containerized applications a breeze.
What is QuickStack?
QuickStack is a powerful, user-friendly web interface designed to automate the critical aspects of application deployment and management. Think of it as your very own personal cloud platform, built to run directly on your servers. It takes away the complexity of server management, allowing you to focus solely on your applications. With QuickStack, you can efficiently:
- Build & Deploy Applications: Easily build and deploy applications to single or multiple server clusters.
- Manage Applications: Monitor, back up, and manage your applications through a centralized web interface.
QuickStack was developed by students at the Eastern Switzerland University of Applied Sciences, demonstrating its innovative approach to simplifying server management.
Why Choose QuickStack as Your Free CI/CD Tool?
QuickStack stands out as an exceptional open source CI/CD self-hosted option for several reasons:
- Open Source and Free: QuickStack is completely open source and free to use, eliminating the costs associated with proprietary solutions.
- Ease of Use: Its intuitive web interface lets you deploy and manage your applications effortlessly. You don’t need any command-line expertise; QuickStack handles everything for you.
- Scalability: Easily manage multiple servers and applications from a single web UI, scaling your infrastructure as your needs grow.
- Flexibility: Supports deployments from Docker images and Git repositories, offering a flexible solution for containerized applications.
- Full Control: You maintain full control over your data and infrastructure, providing essential security and peace of mind.
Who Can Benefit from QuickStack?
QuickStack is the ideal free CI/CD tool for:
- Developers: Who want to quickly deploy and manage applications without server administration hassles.
- Small Teams and Startups: Seeking a cost-effective and easy-to-use deployment solution.
- System Administrators: Who want to manage their infrastructure through a user-friendly interface.
- Anyone: Looking for an easy way to deploy applications on their own servers, QuickStack makes the deployment process straightforward and efficient.
How QuickStack Works Under the Hood
QuickStack harnesses several powerful technologies to provide a robust platform:
- k3s: A lightweight Kubernetes distribution.
- Traefik: A reverse proxy and load balancer.
- Longhorn: A distributed block storage solution.
- Registry: A Docker registry for container images.
- Kaniko: A tool for building container images within Kubernetes.
Getting Started with QuickStack: Open Source CI/CD Self-Hosted
Ready to start simplifying your deployment process? Here’s how to get started:
- Installation: Install QuickStack on your Linux server by following the installation guide available here
- Cluster Setup: Set up a cluster if you want to deploy applications across multiple servers.
Step-by-Step Installation Guide
Before you begin, ensure you have the following:
- Linux Server: You’ll need a server with a fresh installation of Ubuntu and
sshaccess withsudoprivileges.- Your server needs at least 2 CPU cores and 4 GB of RAM.
- You can use any Server. If you wish to use a cloud provider, we recommend one of the following
NOTE: QuickStack was tested on Hetzner and Azure. If you have any issues with other providers, please create an issue on our GitHub repository.
Step-by-Step Guide
Follow these steps to install QuickStack:
1. Connect to your Server: Connect to the terminal of your server.
2. Run the Installation Script: Copy and paste the following command into your terminal and press Enter. This command downloads and executes the QuickStack installation script:
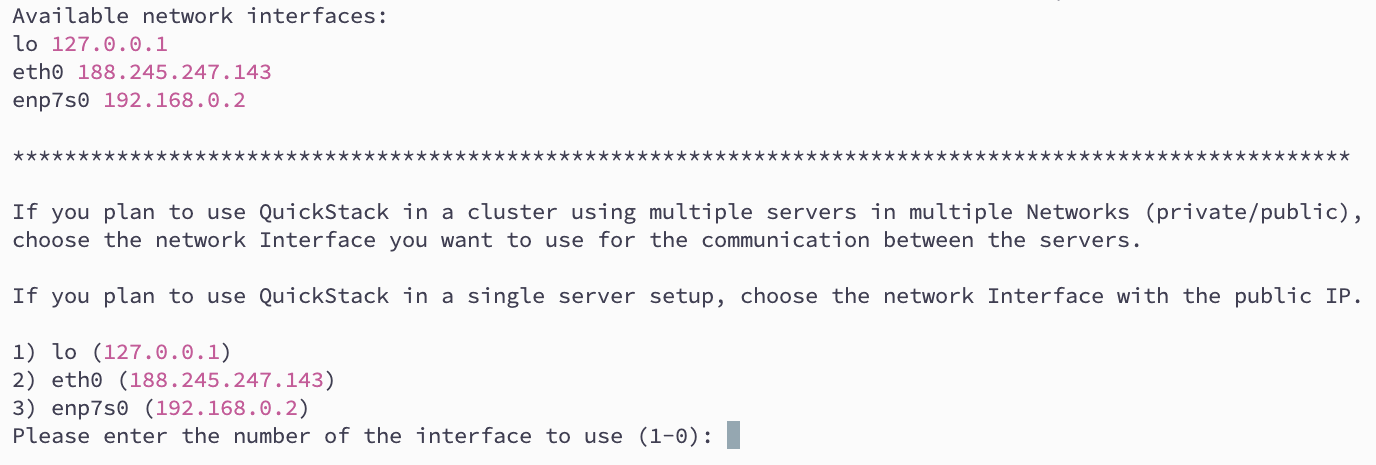
curl -sfL https://get.quickstack.dev/setup.sh | sh -3. Choose a Network Interface Depending on your setup you need to choose the correct network interface for cluster internal traffic. If you plan to create a cluster with multiple nodes and want to use the internal network for communication, you need to select the correct network interface. If you are unsure, choose the entry with the public IP address. Visit Cluster Setup: for further information on how to setup a cluster.
- Wait for the Installation: The installation script will now automatically install QuickStack and all necessary components on your Server. Please be patient as this process may take a few minutes. You’ll see text scrolling in your terminal – this is normal.
- Access the QuickStack Web UI: After the installation completes, open your web browser and navigate to the following URL. You must replace
your_server_ipwith the actual IP address of your Server.http://your_server_ip:30000
Warning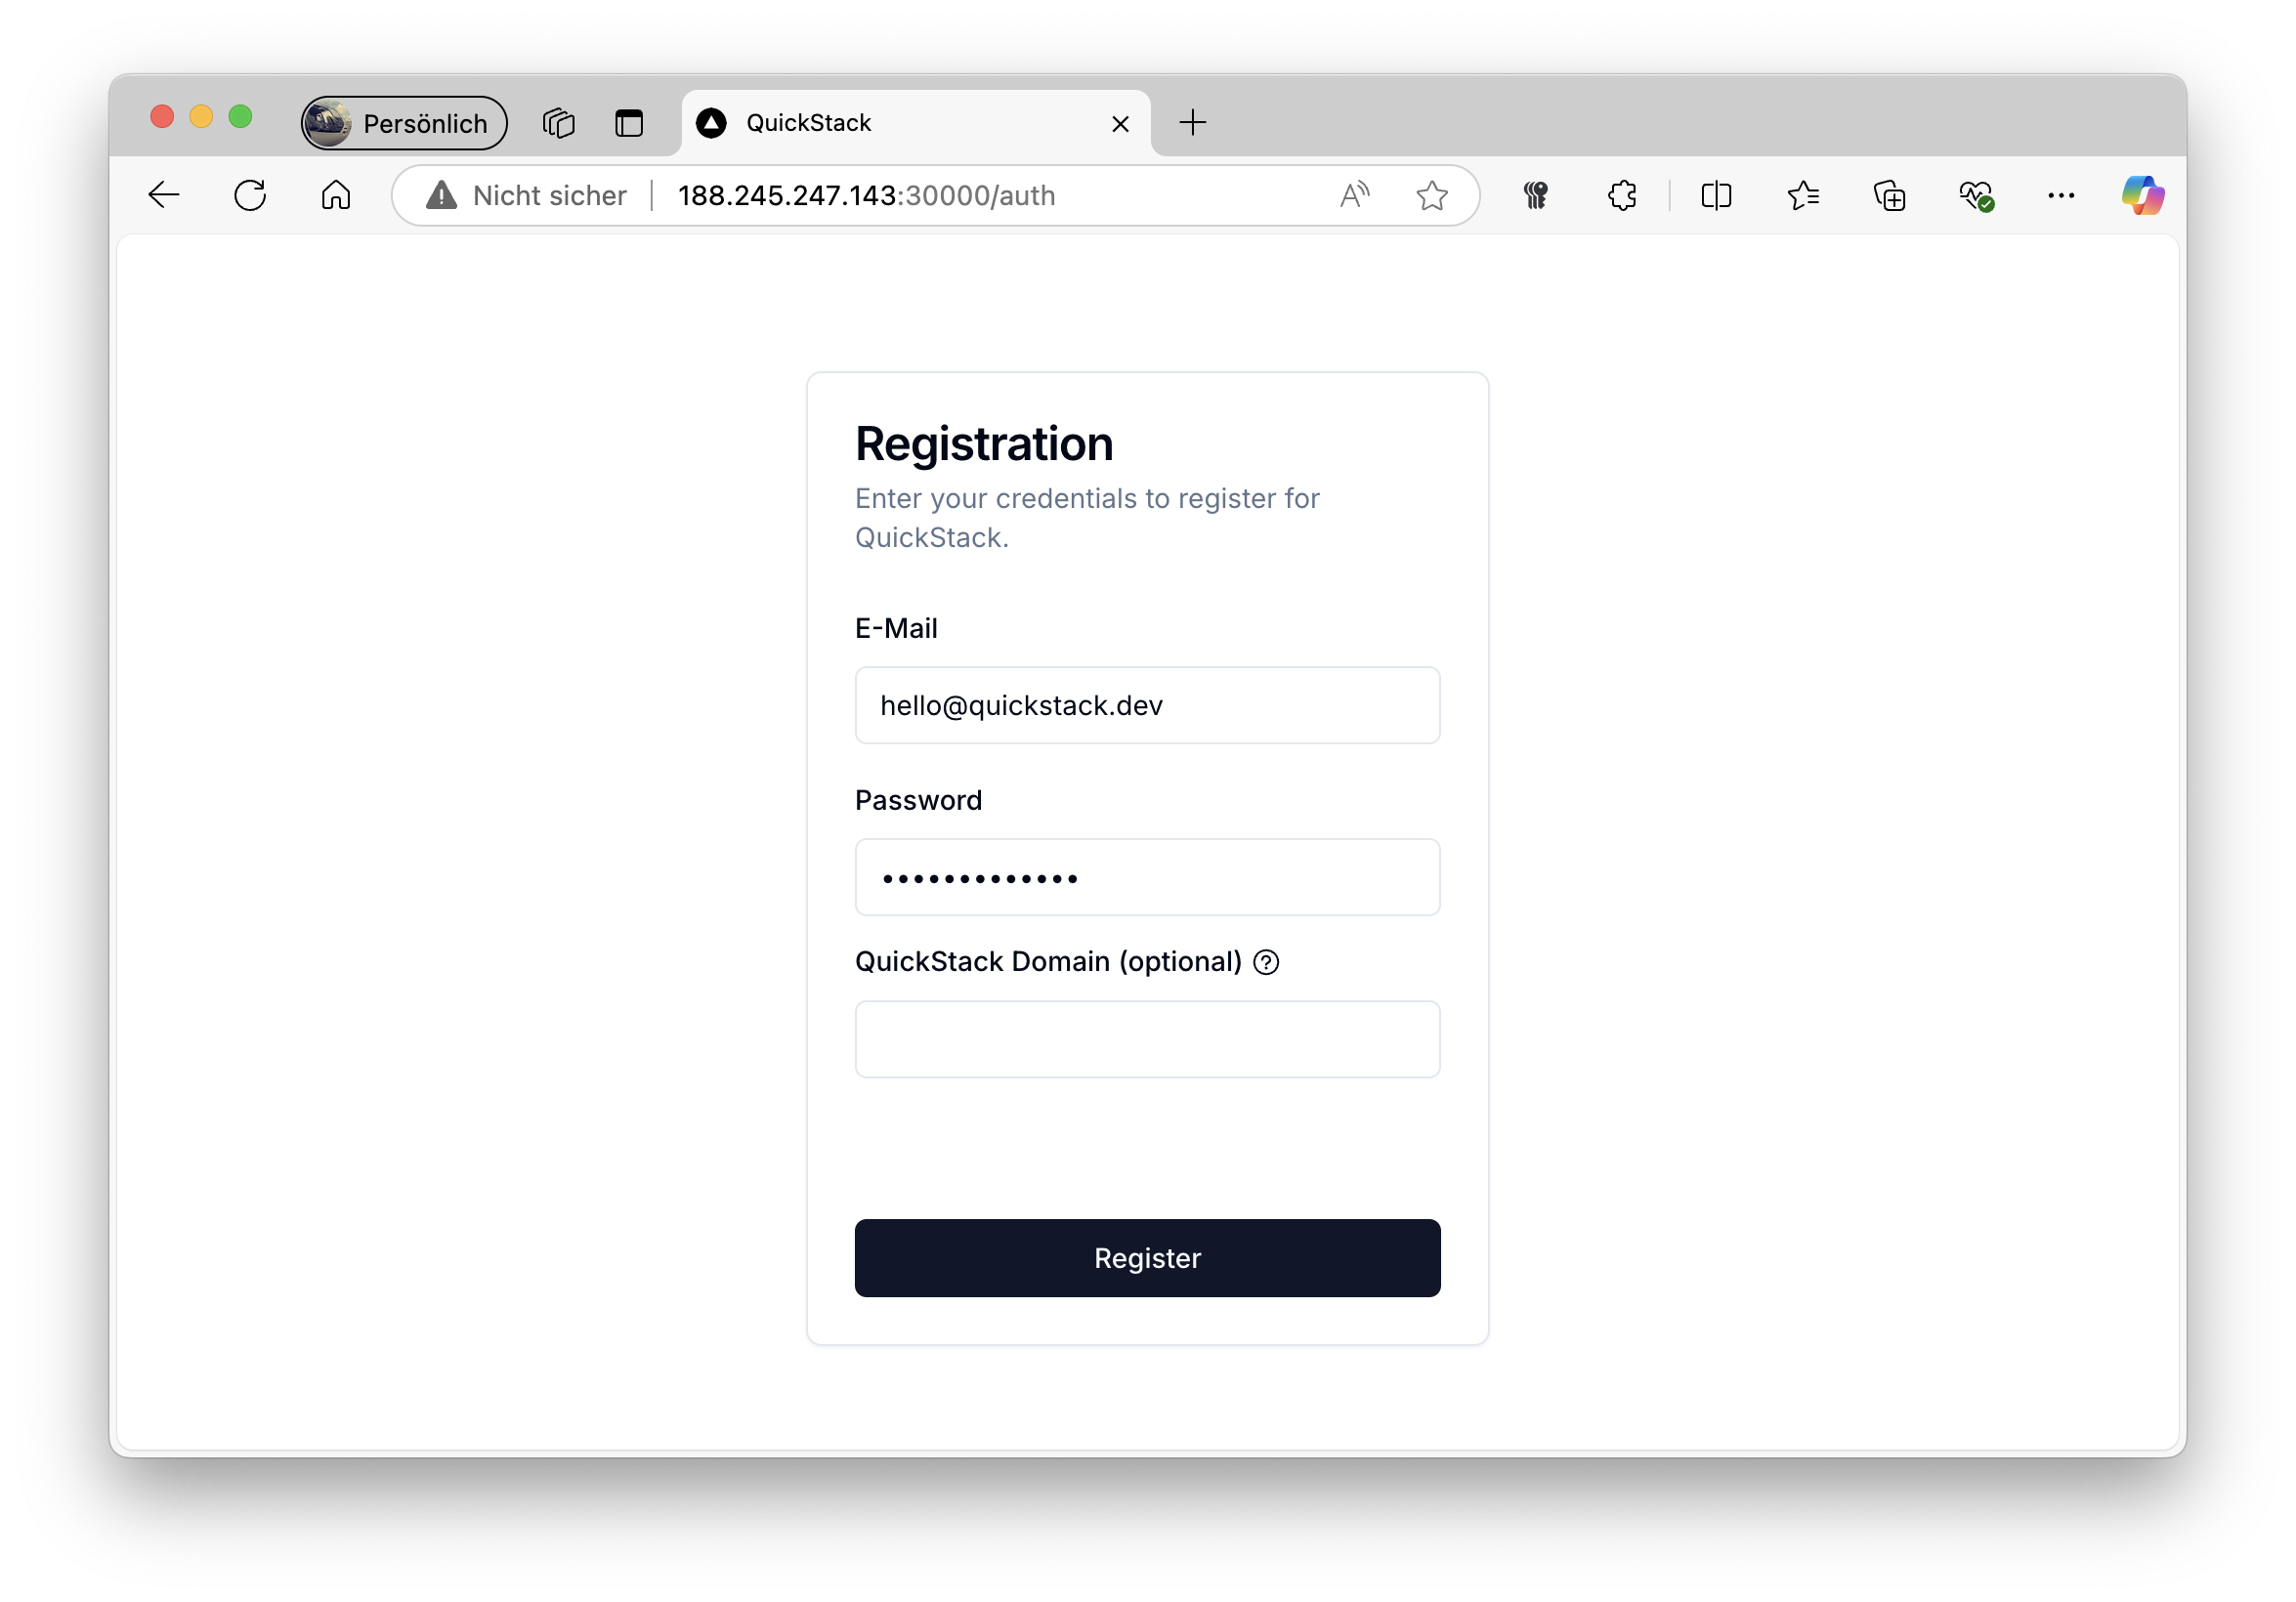
Make sure your firewall settings allow inbound traffic on port 30000, 80 and 443.- Create a User Account You will be prompted to create a new user account when accessing the web UI for the first time. Complete the registration form by providing an email, a password and an optional quickstack domain.
Hint
If you already have a domain assigned to your QuickStacks Server IP, you can enter it in this field. This allows you to access the QuickStack UI through your domain. Leave it blank if you just want to use your IP address or want to configure it later.
- Start using QuickStack Log in with your newly created credentials and start using QuickStack!
Create your first App
Now that you have QuickStack installed, you can start deploying your first application. You can deploy applications from a Docker image or a Git repository. Visit the Managing Apps guide to learn more.

Leave a Reply